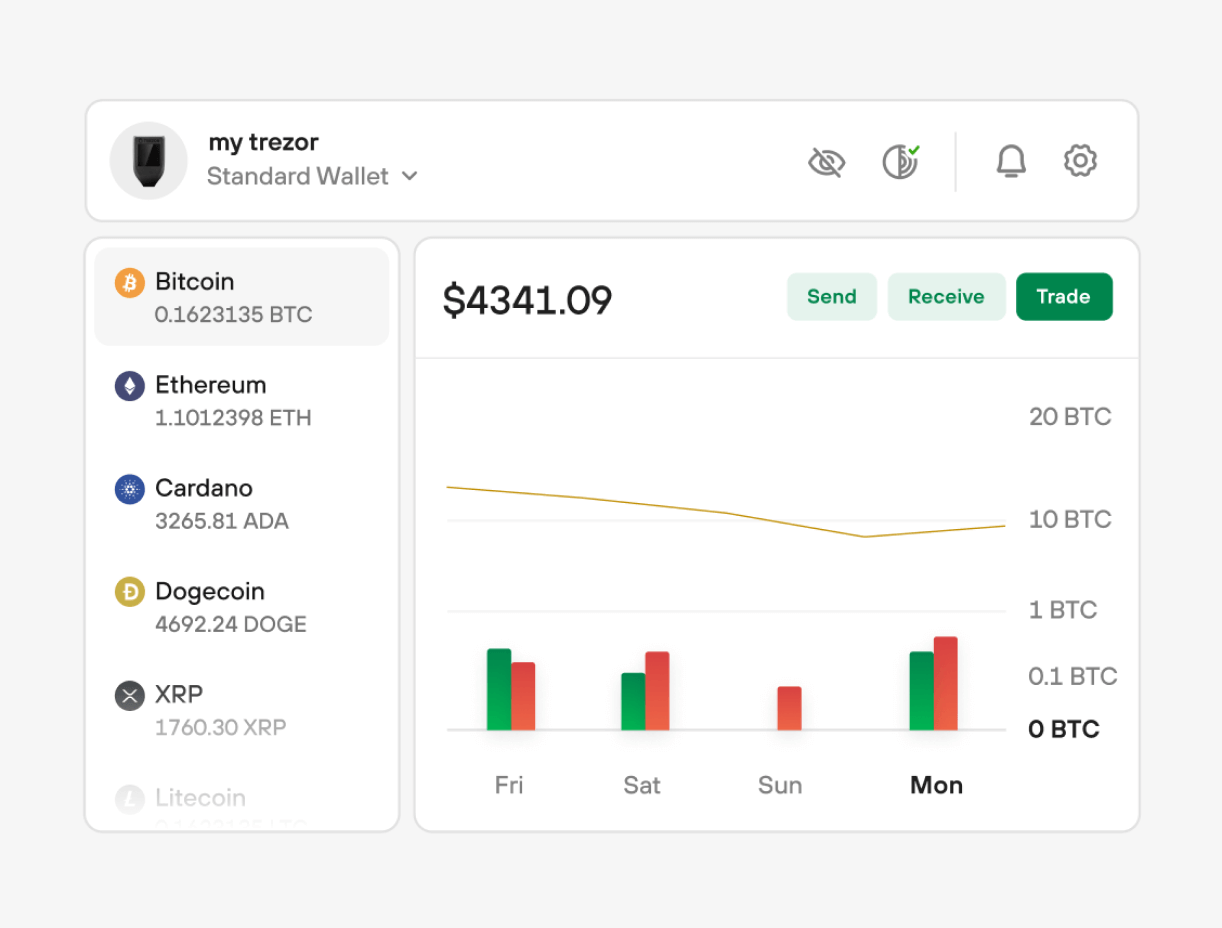
Send & receive coins, track your portfolio, trade assets or pay for daily essentials directly from the app.
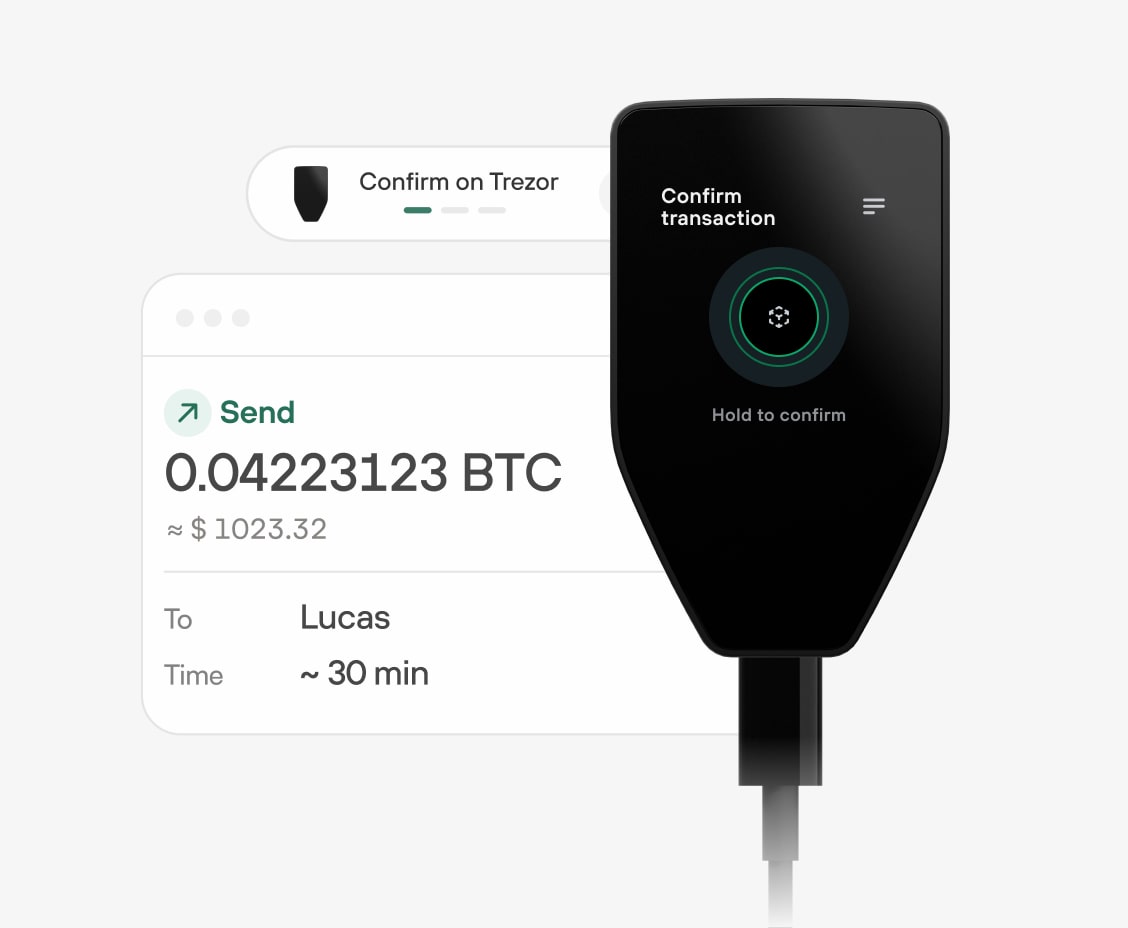
Check & Verify
No more second guessing.
Every transaction on the app requires your explicit confirmation directly on your Trezor hardware wallet.
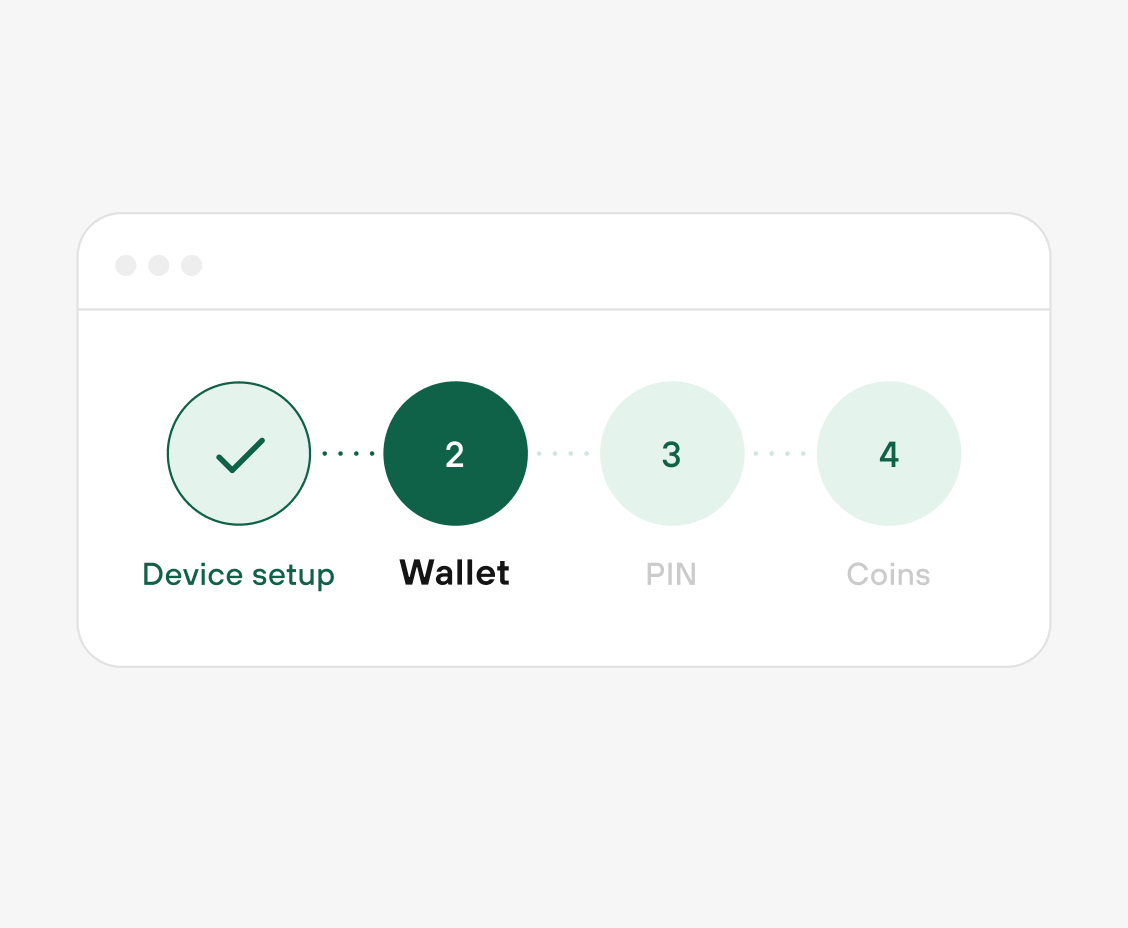
Simple Setup & Use
Set up within minutes.
Grab your Trezor device, plug it in, open Trezor Suite, and let your crypto journey begin! Forget about the tech jargon, we speak your language.
Start your journey
Visit trezor.io/start for more information on getting started with your Trezor device.
Welcome to Trezor.io/Start
Setting up your Trezor hardware wallet for ultimate security.
Introduction to Trezor.io/Start
Trezor.io/Start is the official onboarding page for setting up and securing your Trezor hardware wallet. It serves as a comprehensive guide for both new and experienced users, providing step-by-step instructions to ensure that your device is properly configured and ready to store your cryptocurrencies securely.
Step 1: Unboxing and Connecting Your Trezor
The first step involves unboxing your Trezor device and connecting it to your computer or mobile device. The Trezor.io/Start page guides you through this process, ensuring that you use the official USB cable provided with your Trezor device. This step is crucial to ensure a secure connection and to avoid any potential issues during the setup process.
Step 2: Installing Trezor Bridge
Trezor.io/Start will prompt you to install Trezor Bridge, a software that allows your Trezor device to communicate with your computer. The installation process is straightforward, with clear instructions provided on the page. Trezor Bridge is compatible with most operating systems, including Windows, macOS, and Linux.
Step 3: Creating a New Wallet
Once Trezor Bridge is installed, you’ll be guided through the process of creating a new wallet. This involves generating a recovery seed, a series of words that serve as a backup for your wallet. Trezor.io/Start emphasizes the importance of writing down your recovery seed and storing it in a safe place, as it is the only way to recover your funds if your device is lost or damaged.
Step 4: Securing Your Trezor
The final step on Trezor.io/Start focuses on securing your Trezor device. This includes setting up a PIN, enabling additional security features, and ensuring that your device is always running the latest firmware.
Conclusion
Trezor.io/Start is an essential resource for anyone looking to set up their Trezor hardware wallet. By following the steps provided, users can ensure that their device is properly configured and secure.